Styling the mask
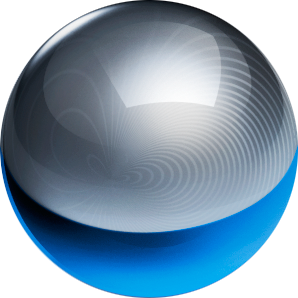
Click on the ball to see a highly visual exposing experience! The background image can really make a difference.

Mask styling
Our mask has a custom background color and image. It is horizontally centered and vertically positioned so that it will match the center of the exposed ball. By default the tool uses the id mask.
#exposeMask {
  background:#072a88 url(/media/img/mask/mask_star_1600px.jpg) no-repeat 50% 0;
}
The background image is a JPG image with a fixed background color. In the expose graphics zip we also have a PNG version of the "star" which can be used together with any background color. Of course the PNG version has a much larger file size because it has alpha transparency.
HTML coding
The ball is centered and its initial width has been shrunken a bit. Its original width is 298 pixels.
<div style="margin:0 auto;width:300px">
  <img src="/media/img/mask/ball_large.png" id="ball"
       style="width:130px" />
</div>
JavaScript coding
Here we set up exposing for the ball image. We have two callback functions that perform the growing/shrinking animation. The click event is a normal jQuery event and inside that you'll get the handle to the exposing API with $(this).expose().load();.
The document height is larger after the ball size has grown. We use the fit() method to resize the mask to fill the whole document after the ball has been resized.
	// setup exposing
	$("#ball").click(function()  {

		var el = $(this);

		el.expose({

			// grow the ball when exposing starts
			onBeforeLoad: function() {
				el.animate({width: 298});
			},

			// shrink the ball when exposing closes
			onBeforeClose: function() {
				el.animate({width: 130});
			}
		});
	});


